Lifestyle
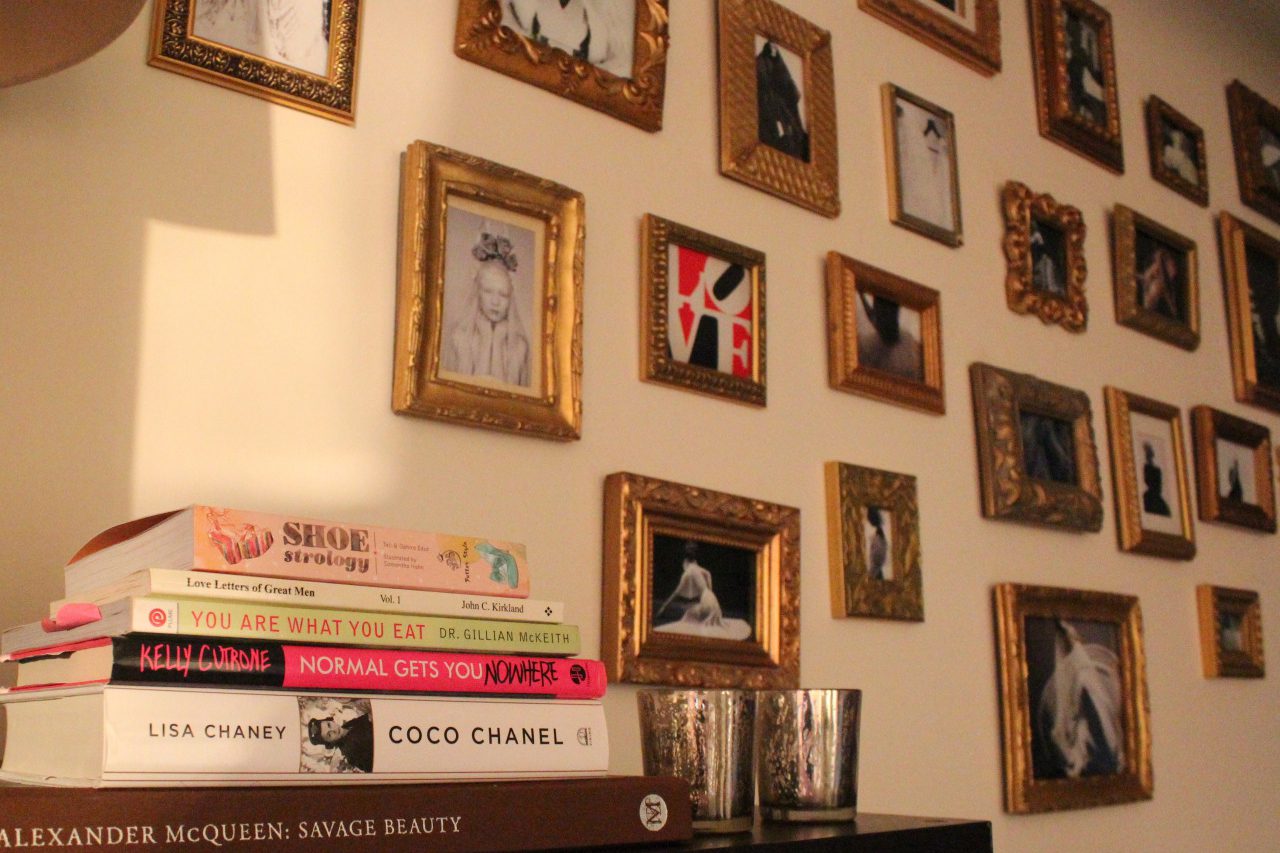
How to Create an Art Gallery Wall
Feb
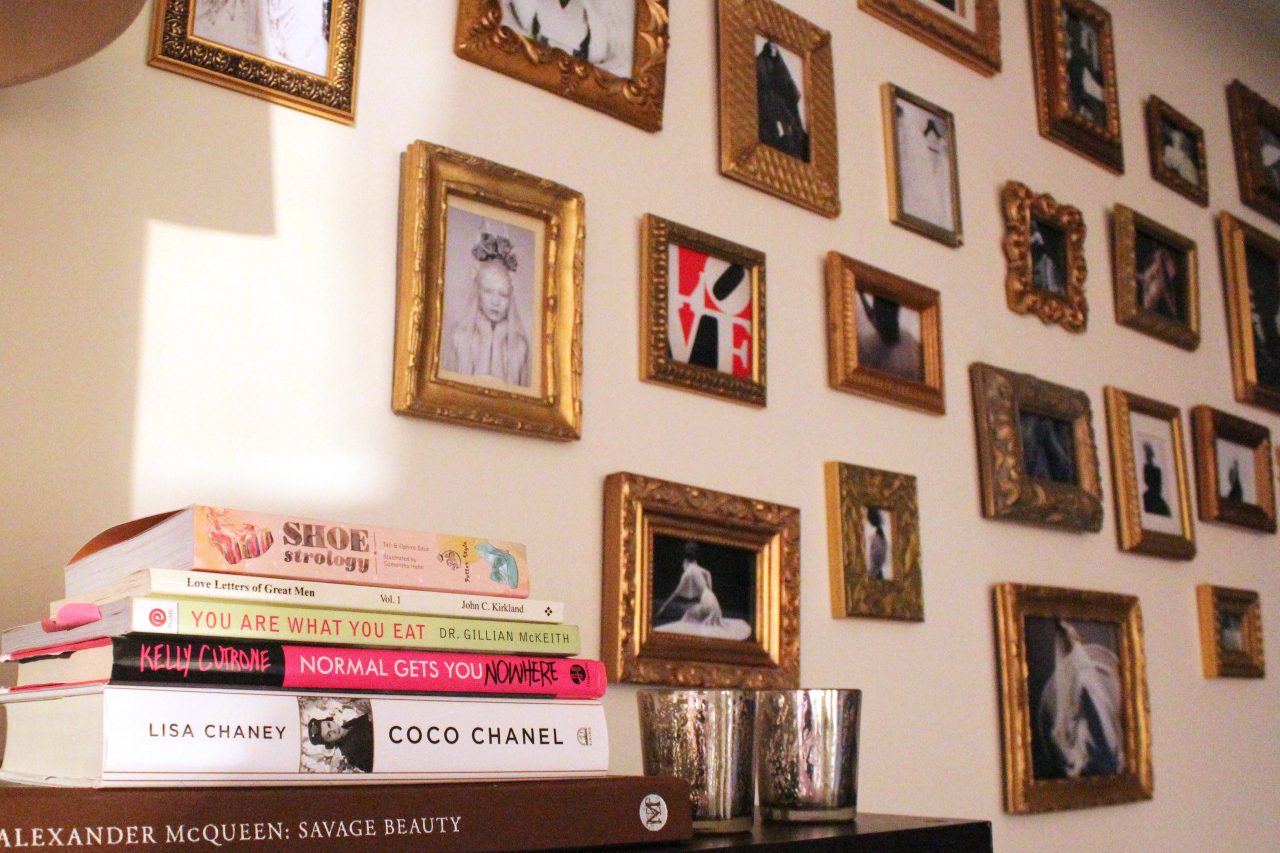
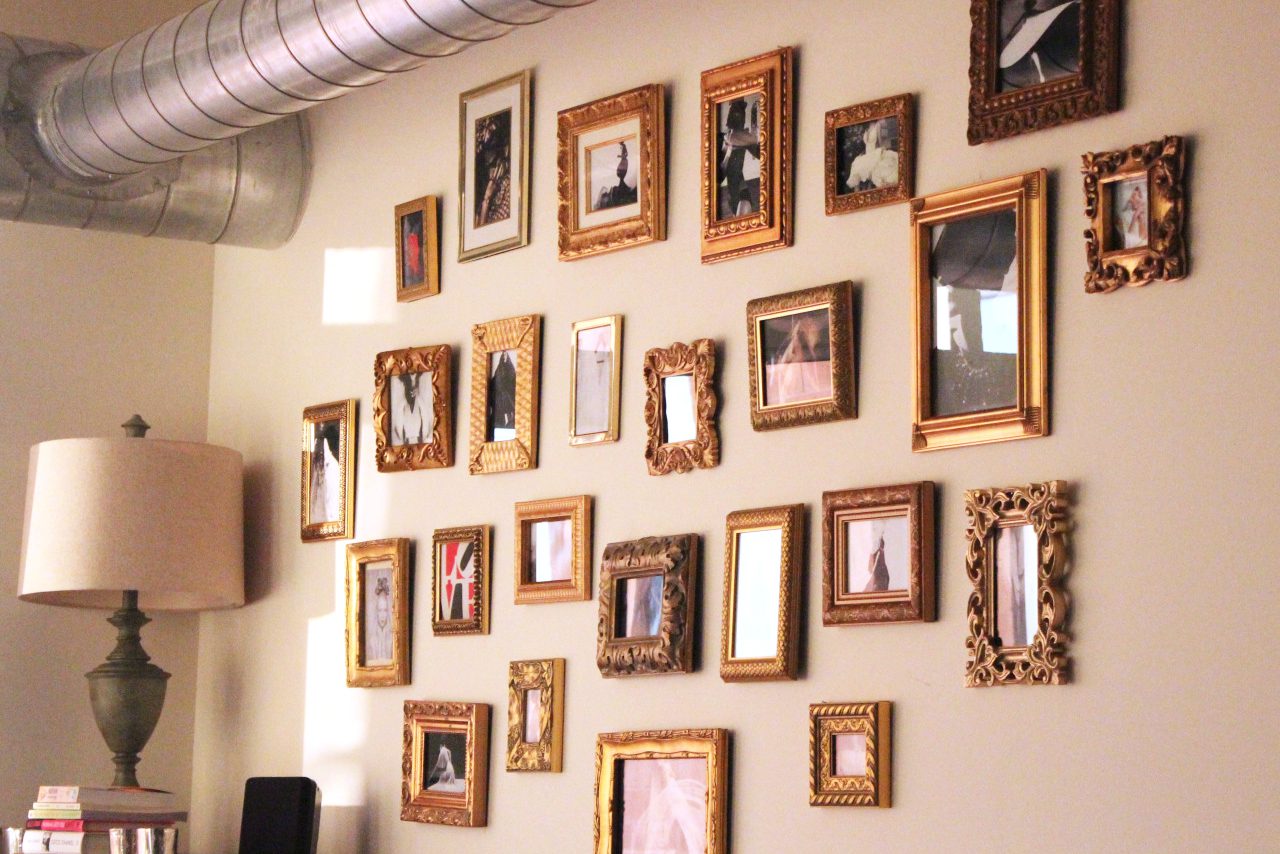
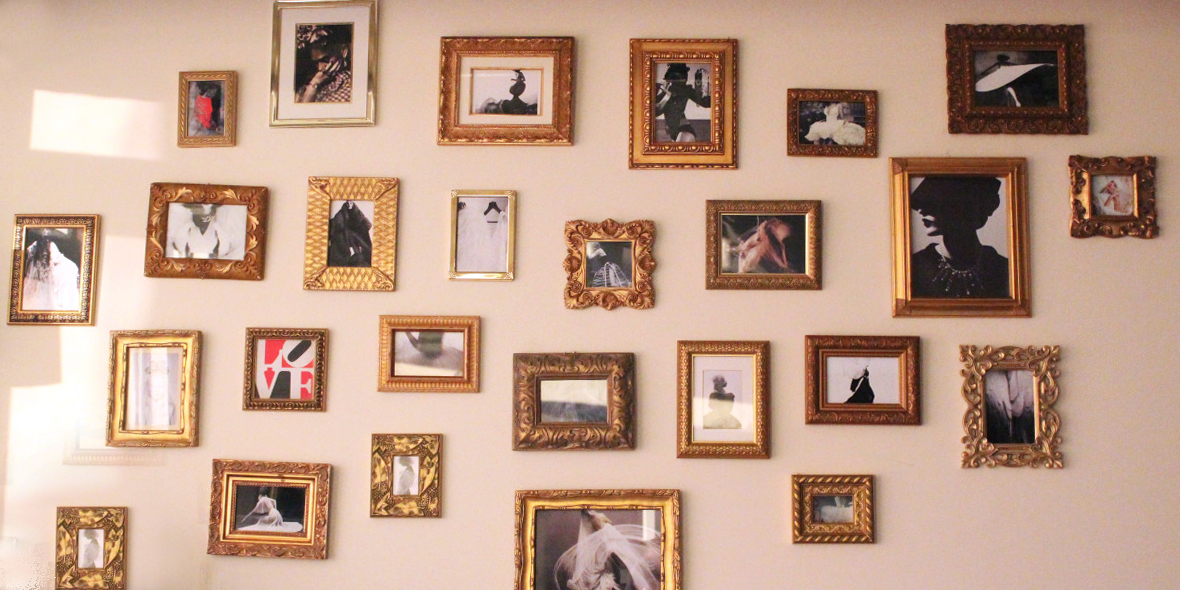
If you’re looking for a creative way to display your favorites pictures and/or art, here is exactly what you’ll need to DIY your own professional gallery wall. This is the perfect way to make a personal statement in your home.
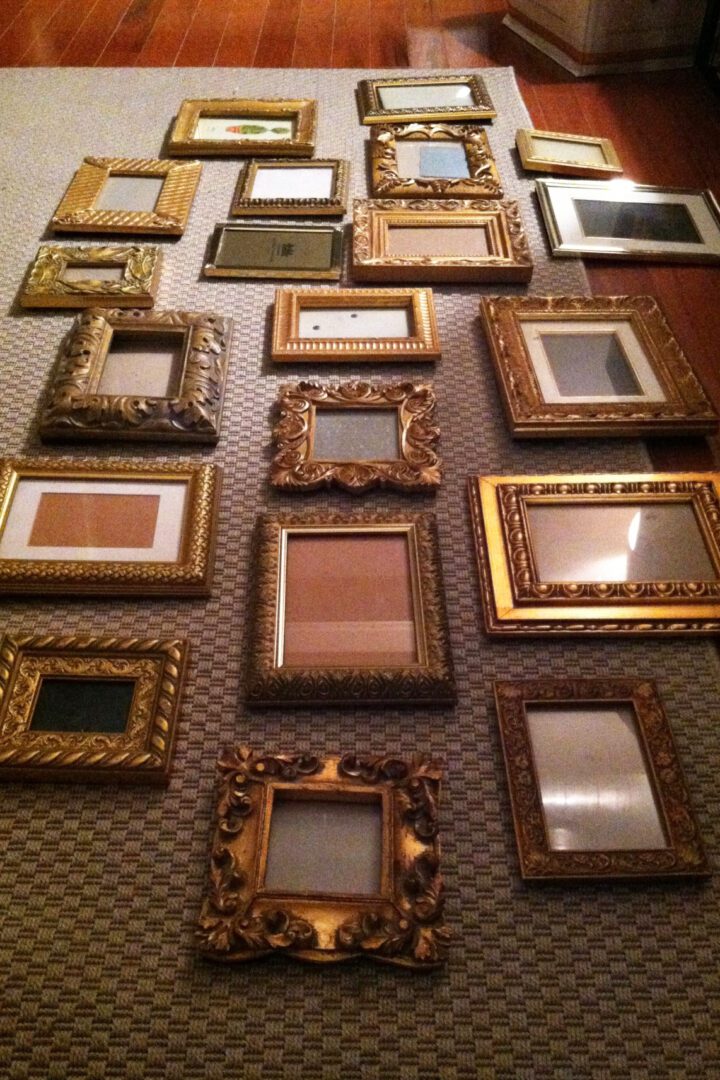
This is all about who you are and what you like. It’s a direct reflection of your personality. You can get super creative with what you fill your frames with as well as having fun with the layout. Play with the layout on the floor before going straight to the wall with nail and hammer. Also, be sure to leave at least 8″ of space if you’re hanging your gallery over furniture. Mix it up with photos, paintings and illustrations in a variety of textures and patterns all while trying to stay true to your palette (black and white, bright colors, etc).
What You’ll Need:
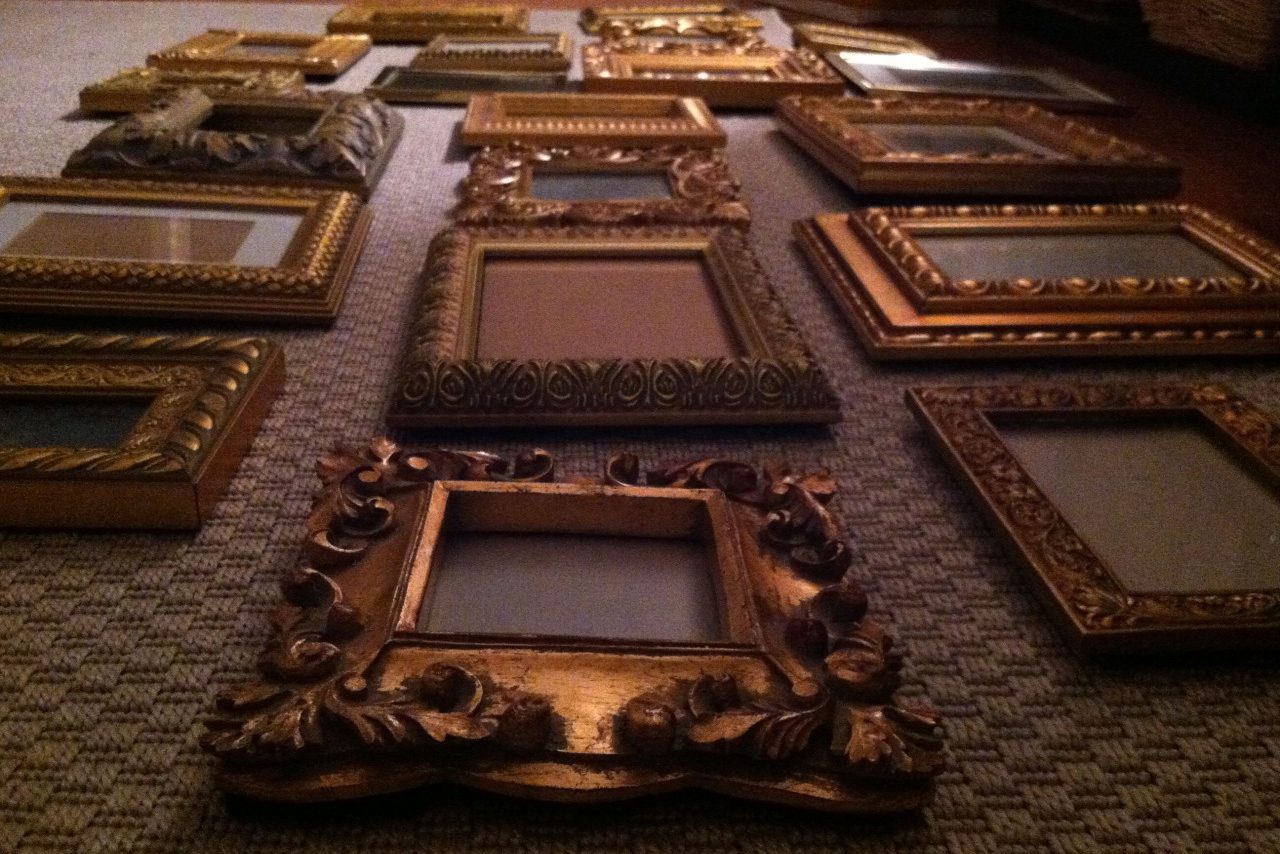
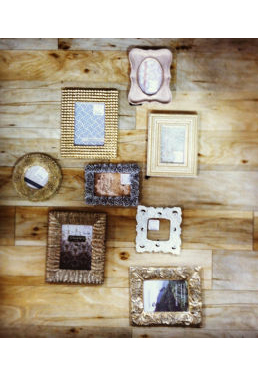
1). Frames (mix and match finish or keep the same)
2). Pictures/magazine clippings/fabric (your findings)
3). Nails
4). Hammer
5). Frame Hangers
Note* Be sure to check the backs of the frames to see if flush. The majority of mine had the frame stand in the back, so I needed to tear and cut off the stands and then added a hangar.
Fill the frames with your photographs, magazine clippings, fashion editorials, collages, or even fabric, gift wrap, post cards, quotes, and drawings.
Lay out the frames on the ground in the same format you would hang them. Do not start hanging them one by one, there should be a rhyme and reason to the madness! Start with laying what you’d like hung in the center and work your way outwards.
There’s no wrong way to do this, so get creative!